
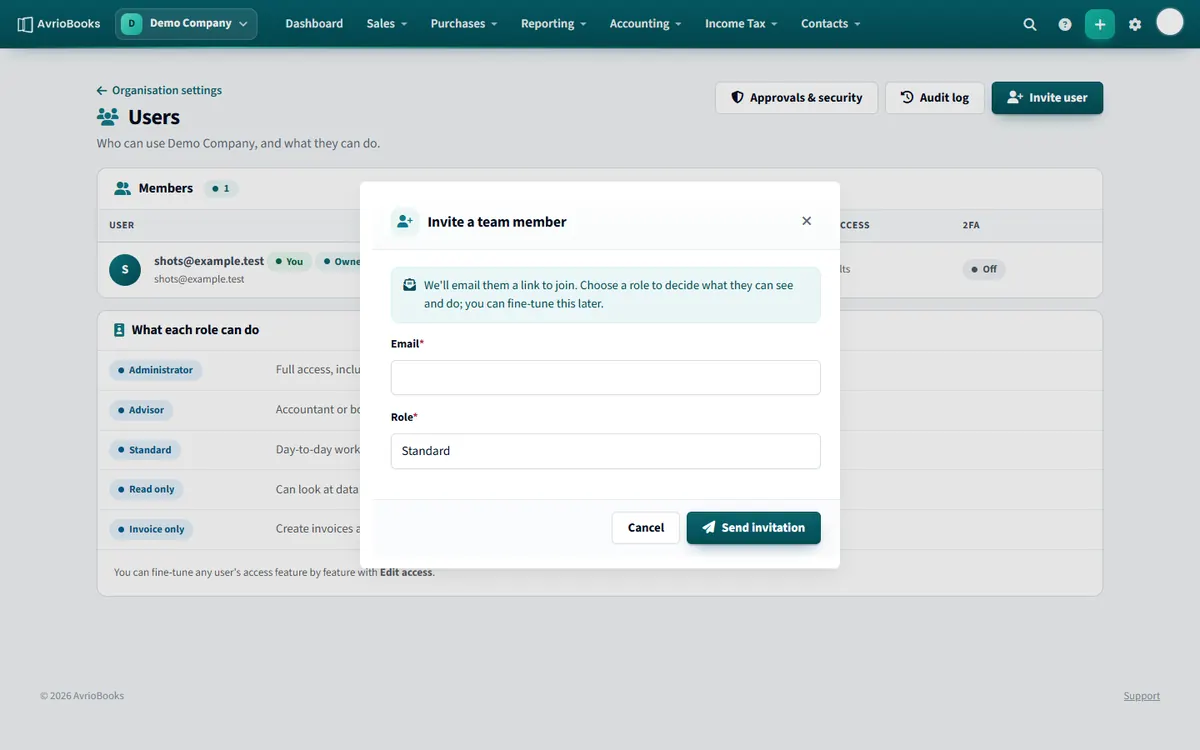
Invite someone
- Open your profile menu and choose Users & roles.
- Select Invite user.
- Enter their email address and choose a role. We email them a link to join.
- Select Send invitation. You can resend or delete a pending invitation from the list.
The five roles
| Role | What they can do |
|---|---|
| Administrator | Full access, including users, security and organisation settings |
| Advisor | For accountants and bookkeepers: everything except managing users |
| Standard | Day-to-day work: invoices, bills, banking and contacts. No settings |
| Read only | Can look at data and reports but not change anything |
| Invoice only | Create invoices and bills and manage contacts. No banking or reports |
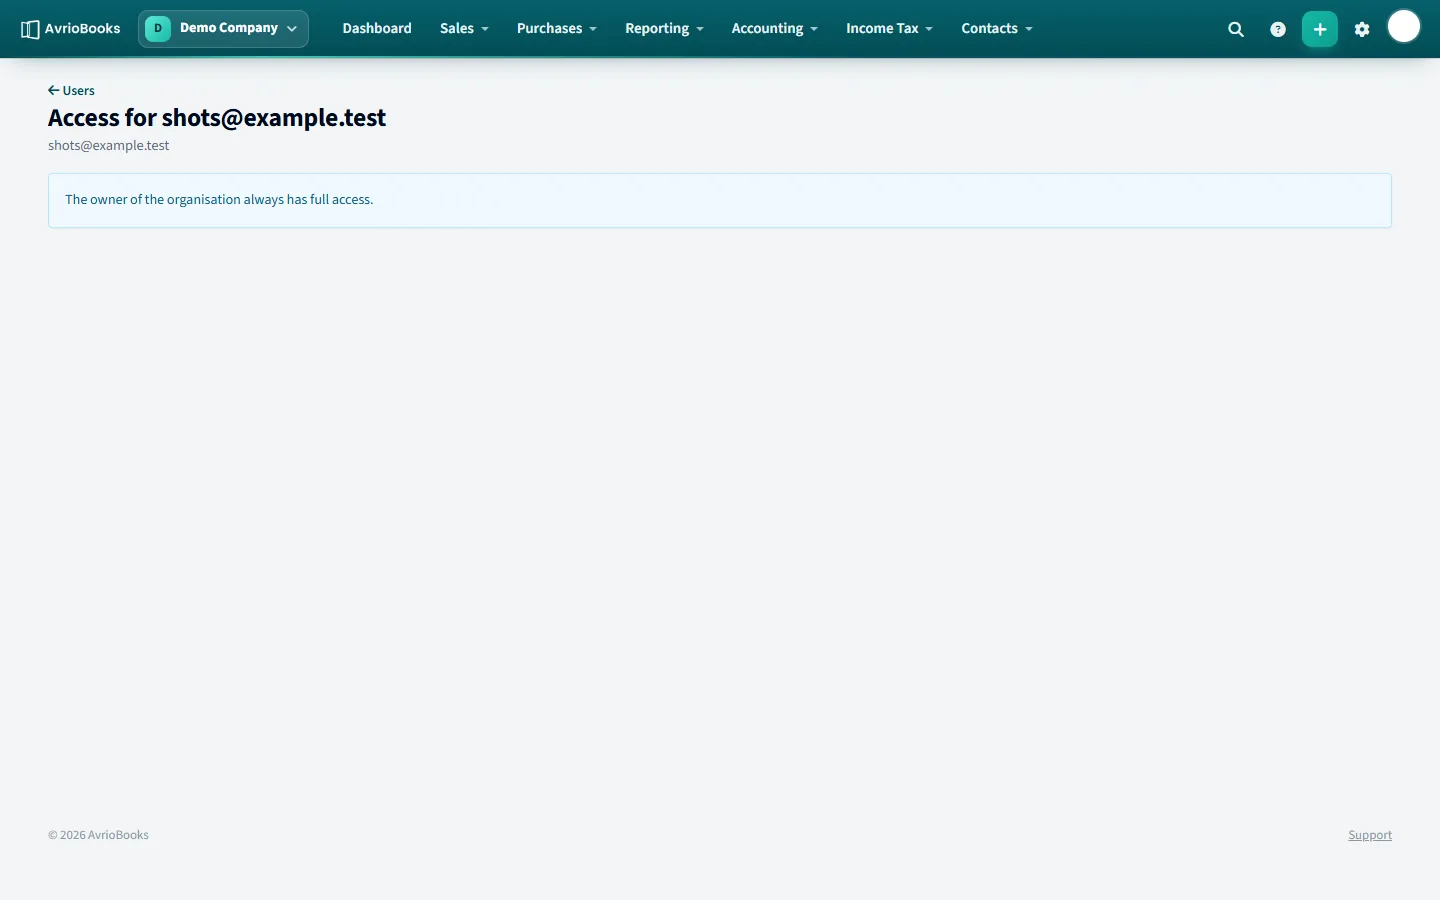
Fine-tune a person’s access
- In Users & roles, select Edit access next to the person.
- Under Feature access, set each area to none, view or edit. The areas are sales, purchases, contacts, products and inventory, bank accounts, accounting, reports and analytics, tax returns, organisation settings, users and security, and approvals.
- Save. Changes take effect on their next page load and are recorded in the audit log.
The owner of the business always has full access. Your plan limits how many users each business can have: Starter 2, Standard 5 and Premium 15.
Choosing the right role
| Person | Suggested role |
|---|---|
| A business partner or finance manager | Administrator |
| Your accountant or bookkeeper | Advisor |
| A team member who handles invoices, bills and banking | Standard |
| An investor, trustee or auditor | Read only |
| Someone who only raises invoices and bills | Invoice only |
Giving your accountant access
Invite their email address as an Advisor. They can see and edit the books, run reports and prepare tax returns, but cannot manage users or change organisation settings. Add the Approvals permission if they should approve documents too.
Good practice
- Give each person their own sign-in. It keeps the audit log meaningful.
- Start with the least access a person needs and add to it later.
- Review Users & roles every few months and remove anyone who no longer needs access. See Remove a team member.
- Encourage everyone to turn on two-factor authentication.
Frequently asked questions
What roles can I give people?
Administrator, Advisor, Standard, Read only and Invoice only. You can also fine-tune each person’s access feature by feature.
How many users can I add?
Starter allows 2 users per business, Standard 5 and Premium 15. Pending invitations count towards the limit.
More in Plans, Team, Security & Tax
Still stuck? Our team is happy to help. Contact support or book a walkthrough.