
Import contacts
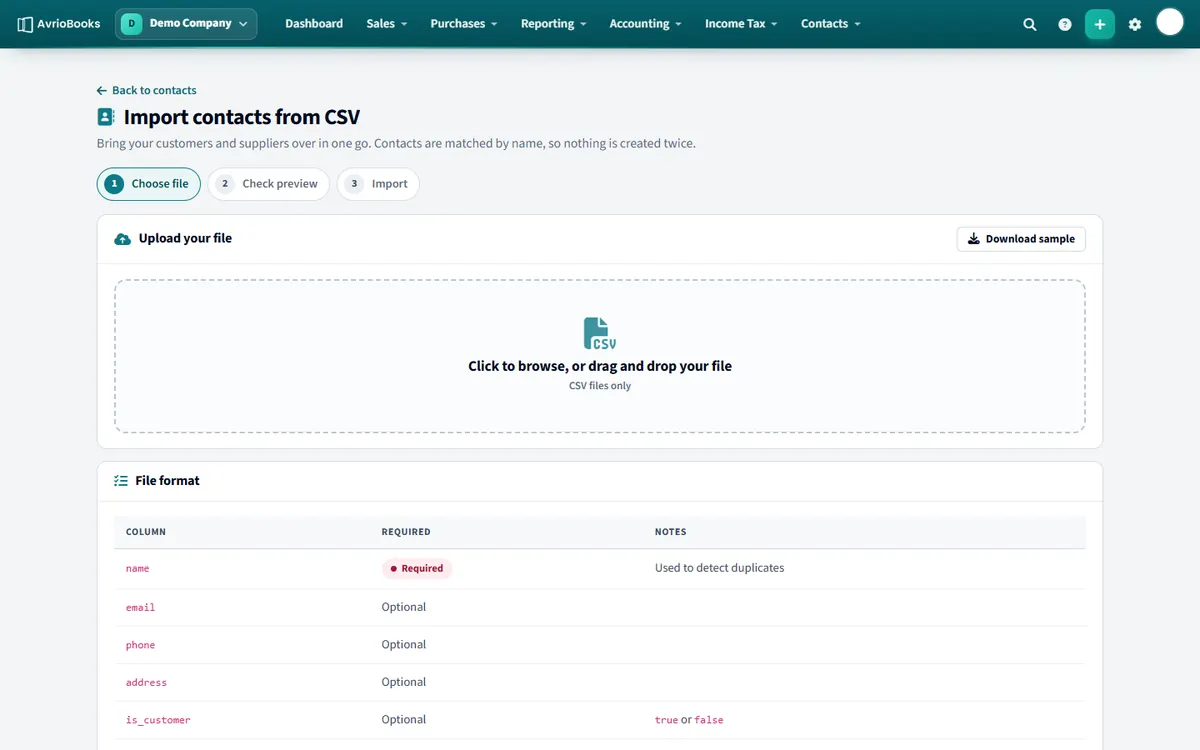
- Select Contacts > All contacts, then Import contacts.
- Select Download sample if you want a template. The first row must be column headers.
- Upload your CSV file by browsing or dragging it onto the page.
- Review the preview, which shows exactly what will be created. Duplicates are skipped and only new rows are saved.
- Confirm the import.
Columns
The sample file uses these columns:
| Column | Notes |
|---|---|
| name | Required. Contact names must be unique within a business |
| phone | |
| address |
Open each contact afterwards to mark whether they are a customer, a supplier or both, and to set tax numbers and default accounts and tax rates.
Preparing your spreadsheet
- Keep one contact per row and make sure every row has a name.
- Names must be unique within a business, so merge duplicates first.
- Remove empty rows and any notes or totals at the bottom.
- Save the file as CSV before uploading.
After the import
Imported contacts are plain contacts. Open the ones that matter and mark them as a customer, a supplier or both, add tax numbers, and set default accounts and tax rates so new documents fill in automatically. Use groups to organise them.
Moving suppliers as well as customers
You can import both from one list because the import does not decide the type for you. Import everyone together, then flag them afterwards, or import customers and suppliers in two separate files.
Troubleshooting
If the preview says “We couldn’t read that file”, see My bank file or CSV won’t import; the same checks apply.
Frequently asked questions
What columns does the contact import need?
The sample file uses name, email, phone and address. Only the name is required, and names must be unique within a business.
What happens to duplicate contacts?
Duplicates are skipped and only new rows are saved. The preview shows which is which before you confirm.